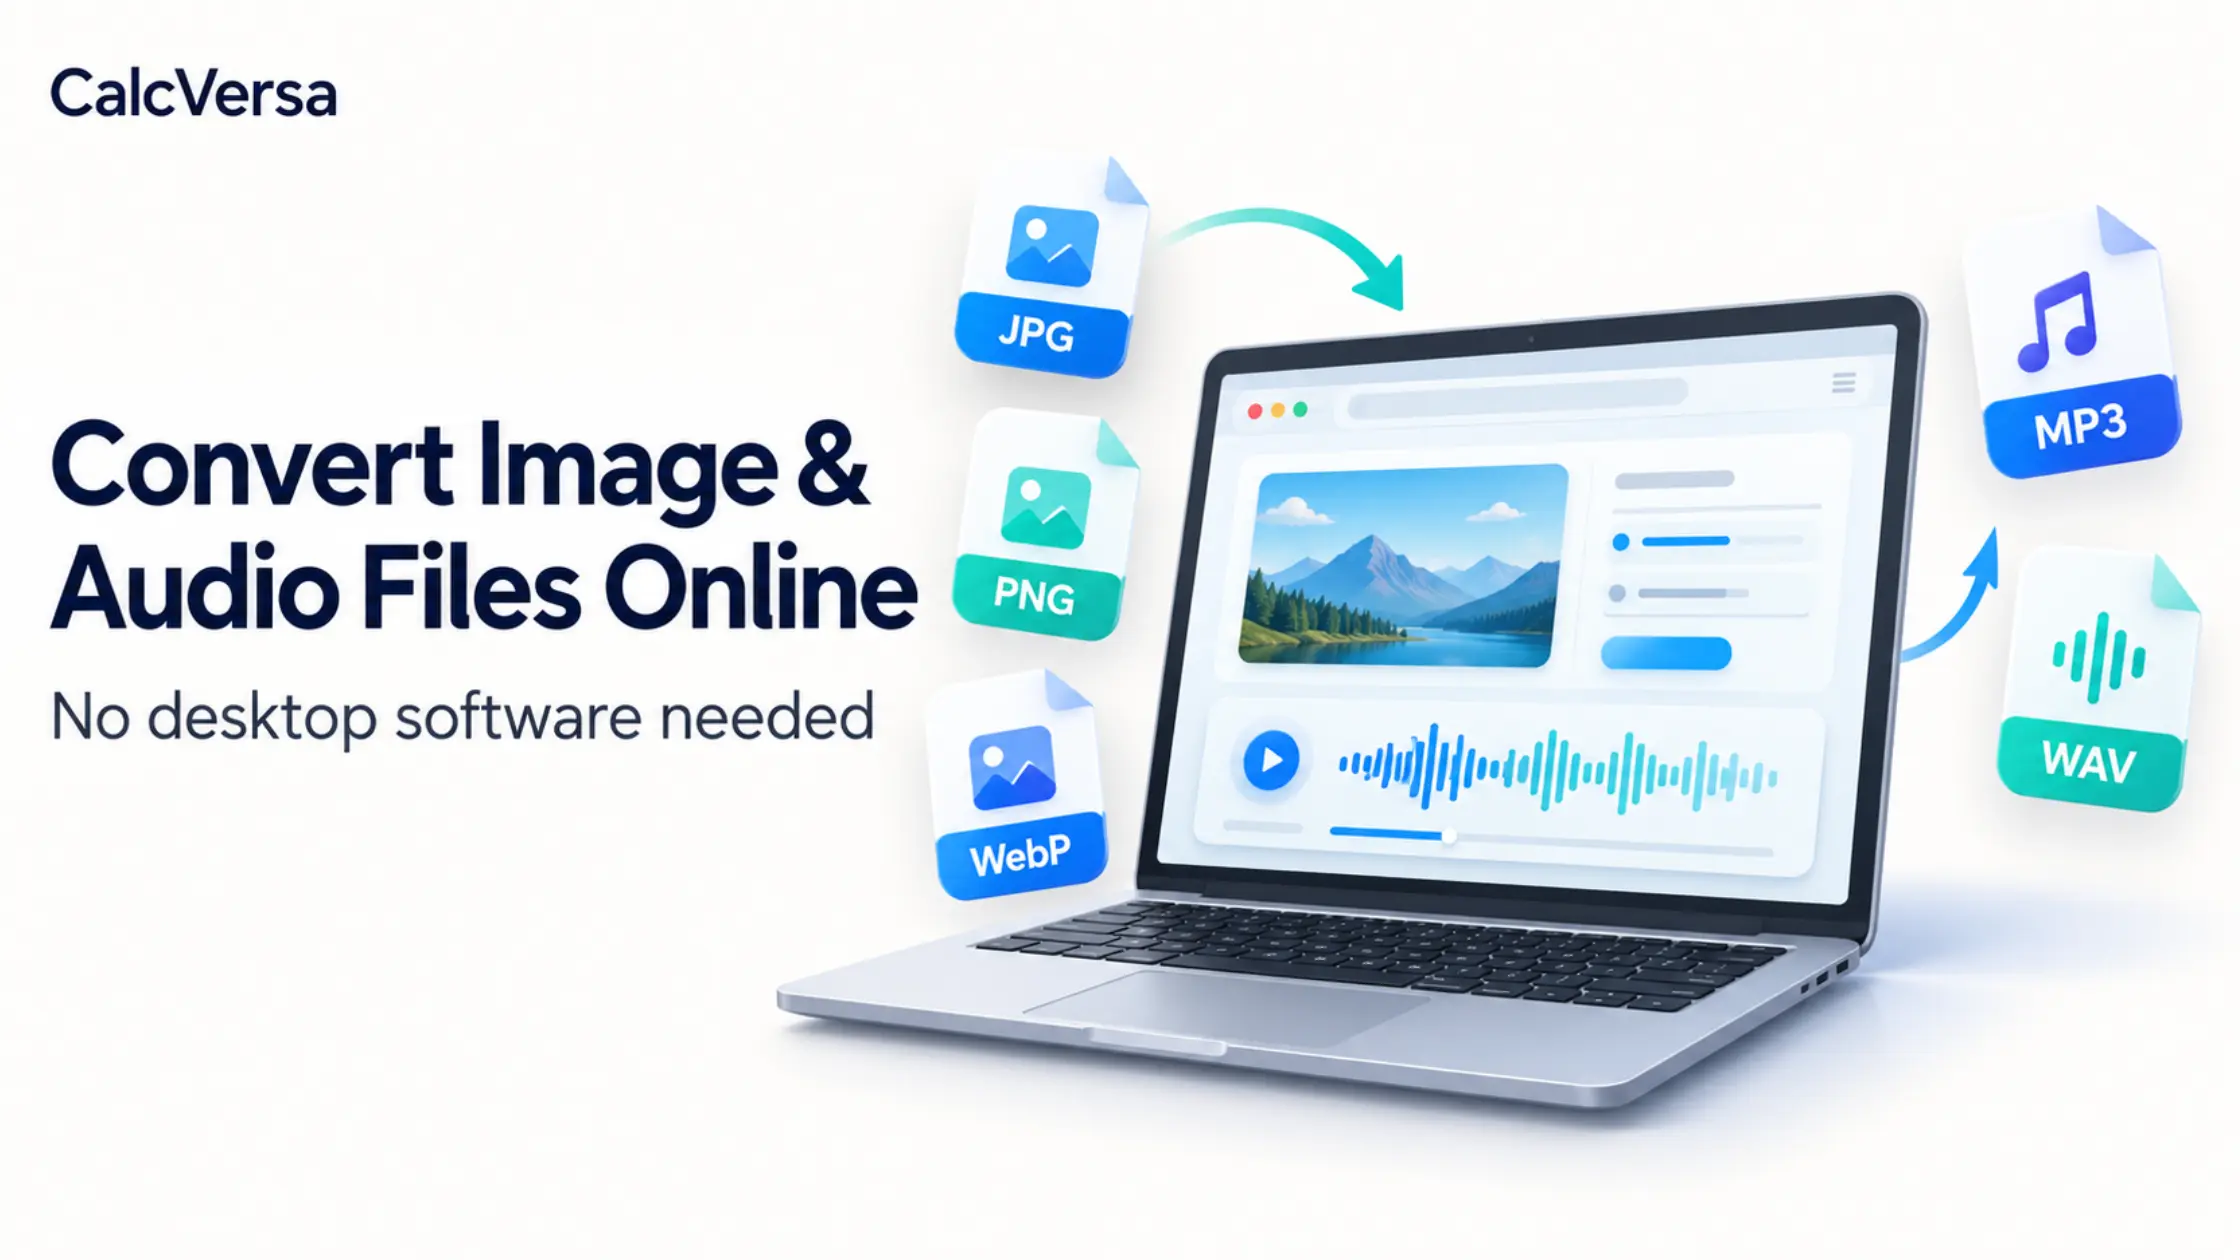
You can convert image and audio files online by opening a browser-based converter, selecting your file, choosing a supported output format, and downloading the converted copy. You do not need to install a desktop application for this workflow.
For pictures, start with the CalcVersa Image Converter. For recordings or music files, use the CalcVersa Audio Converter. Before converting, check the format your destination accepts and whether you need to preserve transparency, animation, or audio quality.
The quickest useful conversion is one that produces a file you can actually use. Choosing the right settings before you start helps avoid unnecessary retries.
Before you start: check what the file needs to do
A website upload, an email attachment, and an editing project may have different requirements. Look for:
- Accepted file formats, such as JPG, PNG, MP3, or WAV.
- Maximum file size.
- Required image dimensions or audio specifications.
- Features you need to keep, such as a transparent background or stereo sound.
Keep the original file and convert a copy. This gives you a clean starting point if you need a different output later.
Changing a filename from .png to .jpg, or from .wav to .mp3, does not change the underlying data. Use a converter that creates an actual file in the selected format.
How to convert an image online
CalcVersa’s image tool provides an upload area, an output-format selector, a Convert Image button, and a download option.
Follow these steps:
- Open the image converter in your browser.
- Click the upload area or drag your image into it.
- Choose an available output format that your destination accepts.
- Click Convert Image.
- Download the converted image.
- Open the downloaded copy and check its appearance, dimensions, and file size.
The page’s upload area lists JPG, PNG, WebP, GIF, and BMP. For other inputs, check the current tool instructions before assuming support.
Which image format should you choose?
| Your main requirement | Format to consider | What to check |
|---|---|---|
| A photograph for an upload or attachment | JPG/JPEG | Compression can affect fine detail; transparency is unavailable |
| A logo or image with a transparent background | PNG | Keep the transparent areas and check the resulting size |
| A screenshot with small text or sharp lines | PNG or lossless WebP | Zoom in to check text and edges |
| A website image where download size matters | WebP | Confirm that your website or upload platform accepts it |
| An animated image | An animation-capable format and converter | Confirm that every frame survives conversion |
The MDN image-format guide explains the differences between these formats. For example, PNG supports lossless compression and transparency, while JPEG uses lossy compression and has no alpha channel.
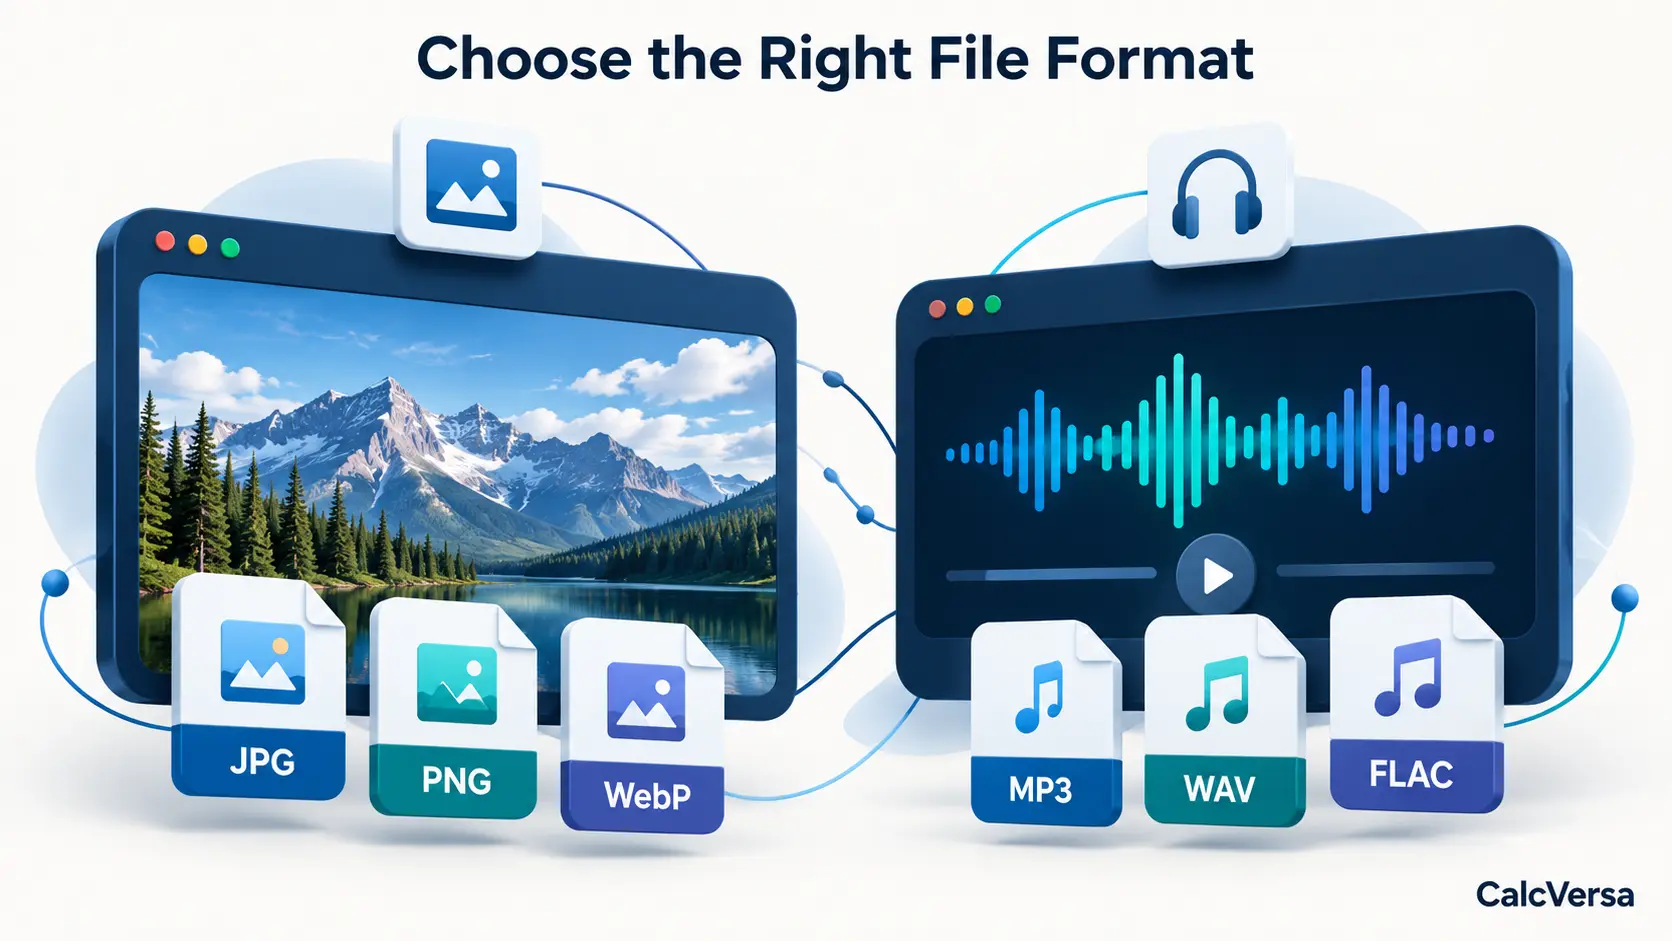
Example: preparing a transparent logo
Suppose you have a logo with a transparent background for a website header. Choose PNG, or a supported WebP export that retains transparency. After downloading, view it against a colored background to confirm that the transparent areas remain intact.
Converting an existing JPG to PNG will not automatically remove its background. If the JPG contains a white rectangle around the logo, that rectangle remains part of the picture until you edit it.
Example: making a photo easier to upload
If a website accepts JPG and your photo is a large PNG, a JPG export may produce a smaller file. Check the actual result rather than assuming that changing the format always reduces size.
If the output still exceeds the limit, use a converter or editor that offers resizing or compression controls. Resize to the destination’s required dimensions, then inspect the result before reducing quality further.
WebP also supports both lossy and lossless compression, as described in Google’s WebP documentation. The best choice depends on the image and the requirements of the receiving platform.
How to How to convert an audio file online the Results
For audio, use the converter’s file-upload workflow:
- Select the recording or music file stored on your device.
- Choose an available output format.
- If the tool provides quality controls, use settings appropriate for the destination.
- Click Convert Audio and wait for processing to finish.
- Download the converted file.
- Play it and check the duration, volume, beginning, and ending.
A successful download is only part of the check. Try the file in the application, device, or website that originally required the conversion.
Which audio format should you choose?
Your main requirement | Format to consider | Main tradeoff |
A smaller file for everyday sharing | MP3 | Lossy compression reduces file size and discards some audio information |
A file for an editor requesting uncompressed audio | PCM WAV | Usually much larger than a compressed sharing copy |
A lossless archive of compatible source audio | FLAC | Preserves audio samples with lossless compression; check destination support |
A platform specifically requesting AAC | AAC in the required container | The platform may specify an extension such as M4A |
Select from the outputs the converter actually offers. A format being playable in your browser does not establish that every online tool can export it.
For audio, the file type and the codec both matter. The codec describes how the sound is encoded; the container holds the audio and related information. WAV commonly contains uncompressed PCM audio, while an M4A file can contain different codecs. The MDN media-container guide explains this distinction.
How to avoid unnecessary audio quality loss
Use the best original you have and create the required sharing copy from that source. Avoid repeatedly converting between lossy formats when you can return to the original.
If bitrate controls are available, compare a short sample before committing to a large conversion. A higher bitrate can retain more detail during lossy encoding, but the useful setting depends on the source, encoder, and listening requirements.
The MDN audio-codec guide describes how compression and encoder settings affect the result.
Converting an MP3 to WAV or FLAC cannot recover audio information already discarded during MP3 encoding. Lossless storage preserves the audio data you provide to it. The official FLAC FAQ explains what lossless compression means.
How much smaller could an audio file become?
A simple calculation helps explain why an audio conversion can make sharing easier.
Consider an illustrative five-minute stereo recording with these source specifications:
- Duration: 300 seconds.
- Sample rate: 44,100 samples per second.
- Bit depth: 16 bits per sample.
- Channels: two.
Its uncompressed PCM audio payload is:
44,100 × 16 × 2 × 300 ÷ 8 = 52,920,000 bytes
That is approximately 52.92 MB using decimal megabytes, before the WAV header or other metadata.
If the recording is encoded as a constant-bitrate MP3 at 192 kbps, its approximate encoded audio payload is:
192,000 × 300 ÷ 8 = 7,200,000 bytes
That is approximately 7.2 MB, before tags and other overhead.
In this hypothetical example, the payload becomes about 86.4% smaller. Actual files vary with their encoding settings, metadata, and overhead.
Use the File Size Converter to compare values expressed in bytes, KB, or MB. This tool changes the unit used to describe a size; it does not compress your file.
To calculate the reduction yourself:
Size reduction (%) = ((original size − new size) ÷ original size) × 100
With the Percentage Calculator, use “X is what percent of Y?” and enter the amount saved as X and the original size as Y. For this example, X is 45.72 MB and Y is 52.92 MB.
Keep units consistent. NIST’s reference on digital storage units distinguishes decimal MB from binary MiB and confirms that one byte contains eight bits.
How to make browser-based conversion faster
You can reduce avoidable delays without installing software:
- Decide on the target format before selecting the file.
- Start with one representative file to confirm that the output works.
- Convert from the original rather than making several intermediate copies.
- Keep the conversion tab open until processing finishes.
- Close other demanding tabs if your device becomes slow.
- Use batch conversion only when the tool explicitly supports it.
Processing time depends on the file, tool, and device. For a service that uploads files, connection speed also affects the transfer. A tool that processes locally relies on your device’s available resources.
There is no reliable conversion-time promise that applies to every image or recording. A long audio file or unusually large image may take considerably longer than a small everyday file.
Check how your files are handled
Using a converter in a browser does not automatically mean that the file stays on your device.
Some tools process locally. Others upload files to a server or processing provider. Check the individual tool’s notice and privacy policy, especially for private photos, confidential recordings, or client material.
The CalcVersa Privacy Policy states that many tools process inputs locally, while some converters may transmit files or data to a server or provider. It also advises checking individual tool pages for their data-handling notices.
For sensitive material, use a workflow approved for that information. Do not rely on a general “online” or “secure” label to establish how files are processed.
Common conversion problems and practical fixes
Problem | What to check or try |
The tool rejects the input | Check its accepted input list and confirm that the original file opens |
The converted file is larger | Review the chosen format and settings; PNG and PCM WAV may be larger than compressed alternatives |
The transparent background disappears | Choose an export that supports transparency and inspect the downloaded image |
An animated image becomes still | Confirm that the converter supports animated output and preserves all frames |
The audio does not play in the destination | Check the required codec and container, not only the filename extension |
Conversion stalls | Try one smaller file, close demanding tabs, or retry in another current browser |
The output sounds worse | Return to the original and review the encoder settings or choose a suitable lossless output |
If an upload still fails after conversion, check the destination’s size and specification limits. Having the correct extension does not guarantee that every other requirement has been met.
Frequently asked questions
Yes, when the converter supports your mobile browser and file type. Select the file from your phone’s picker, convert it, and save the output. Check your browser’s downloads list or your phone’s file manager if you cannot find the saved copy.
They are related operations with different goals. Conversion changes the file’s format. Compression reduces the data needed to store it. A conversion may reduce size, increase it, or leave it similar, depending on the format and settings.
Check the converter’s current accepted formats first. Support for a familiar format does not establish support for HEIC, RAW photos, every WAV variant, or every audio codec.
Do not assume that it will. Check any information you need to retain, such as image dates, audio titles, artist tags, or artwork. Xiph’s FLAC documentation notes that preserving non-audio WAVE metadata can require specific handling.
Open or play the converted file, confirm the full content is present, and test it in the destination application. Check dimensions, transparency, duration, channels, file size, and any important metadata. Keep the original when you may need another export later.
Start with the converter that matches your file, select an output your destination accepts, and verify the downloaded copy. You can find the relevant tools in the CalcVersa converters collection.