
Quick Answer
Deck stair stringers are super important because they hold up the entire staircase. Making sure you cut them right is key for staying safe and keeping things stable. If you’re building new stairs or fixing old ones, there’s plenty you should know about getting those stringers ready and cutting them just right.
For more detailed advice on marking and cutting stair stringers, check out Trex Academy’s complete guide on how to build deck stair stringers.
Tools & Materials Needed for Marking & Cutting Stair Stringers
- Bar Clamps
- Circular Saw
- Drill
- Framing Square
- Hammer
- Jig saw
- Stair Gauge for Framing Square
Preparing the Deck Stair Stringers
Always go for straight, high-quality, pressure-treated 2x12s when it comes to stringers. If you’re planning to rest a stringer on the ground, the wood should have a .60 RET level. Make sure the crown side of the board is facing the cut side.
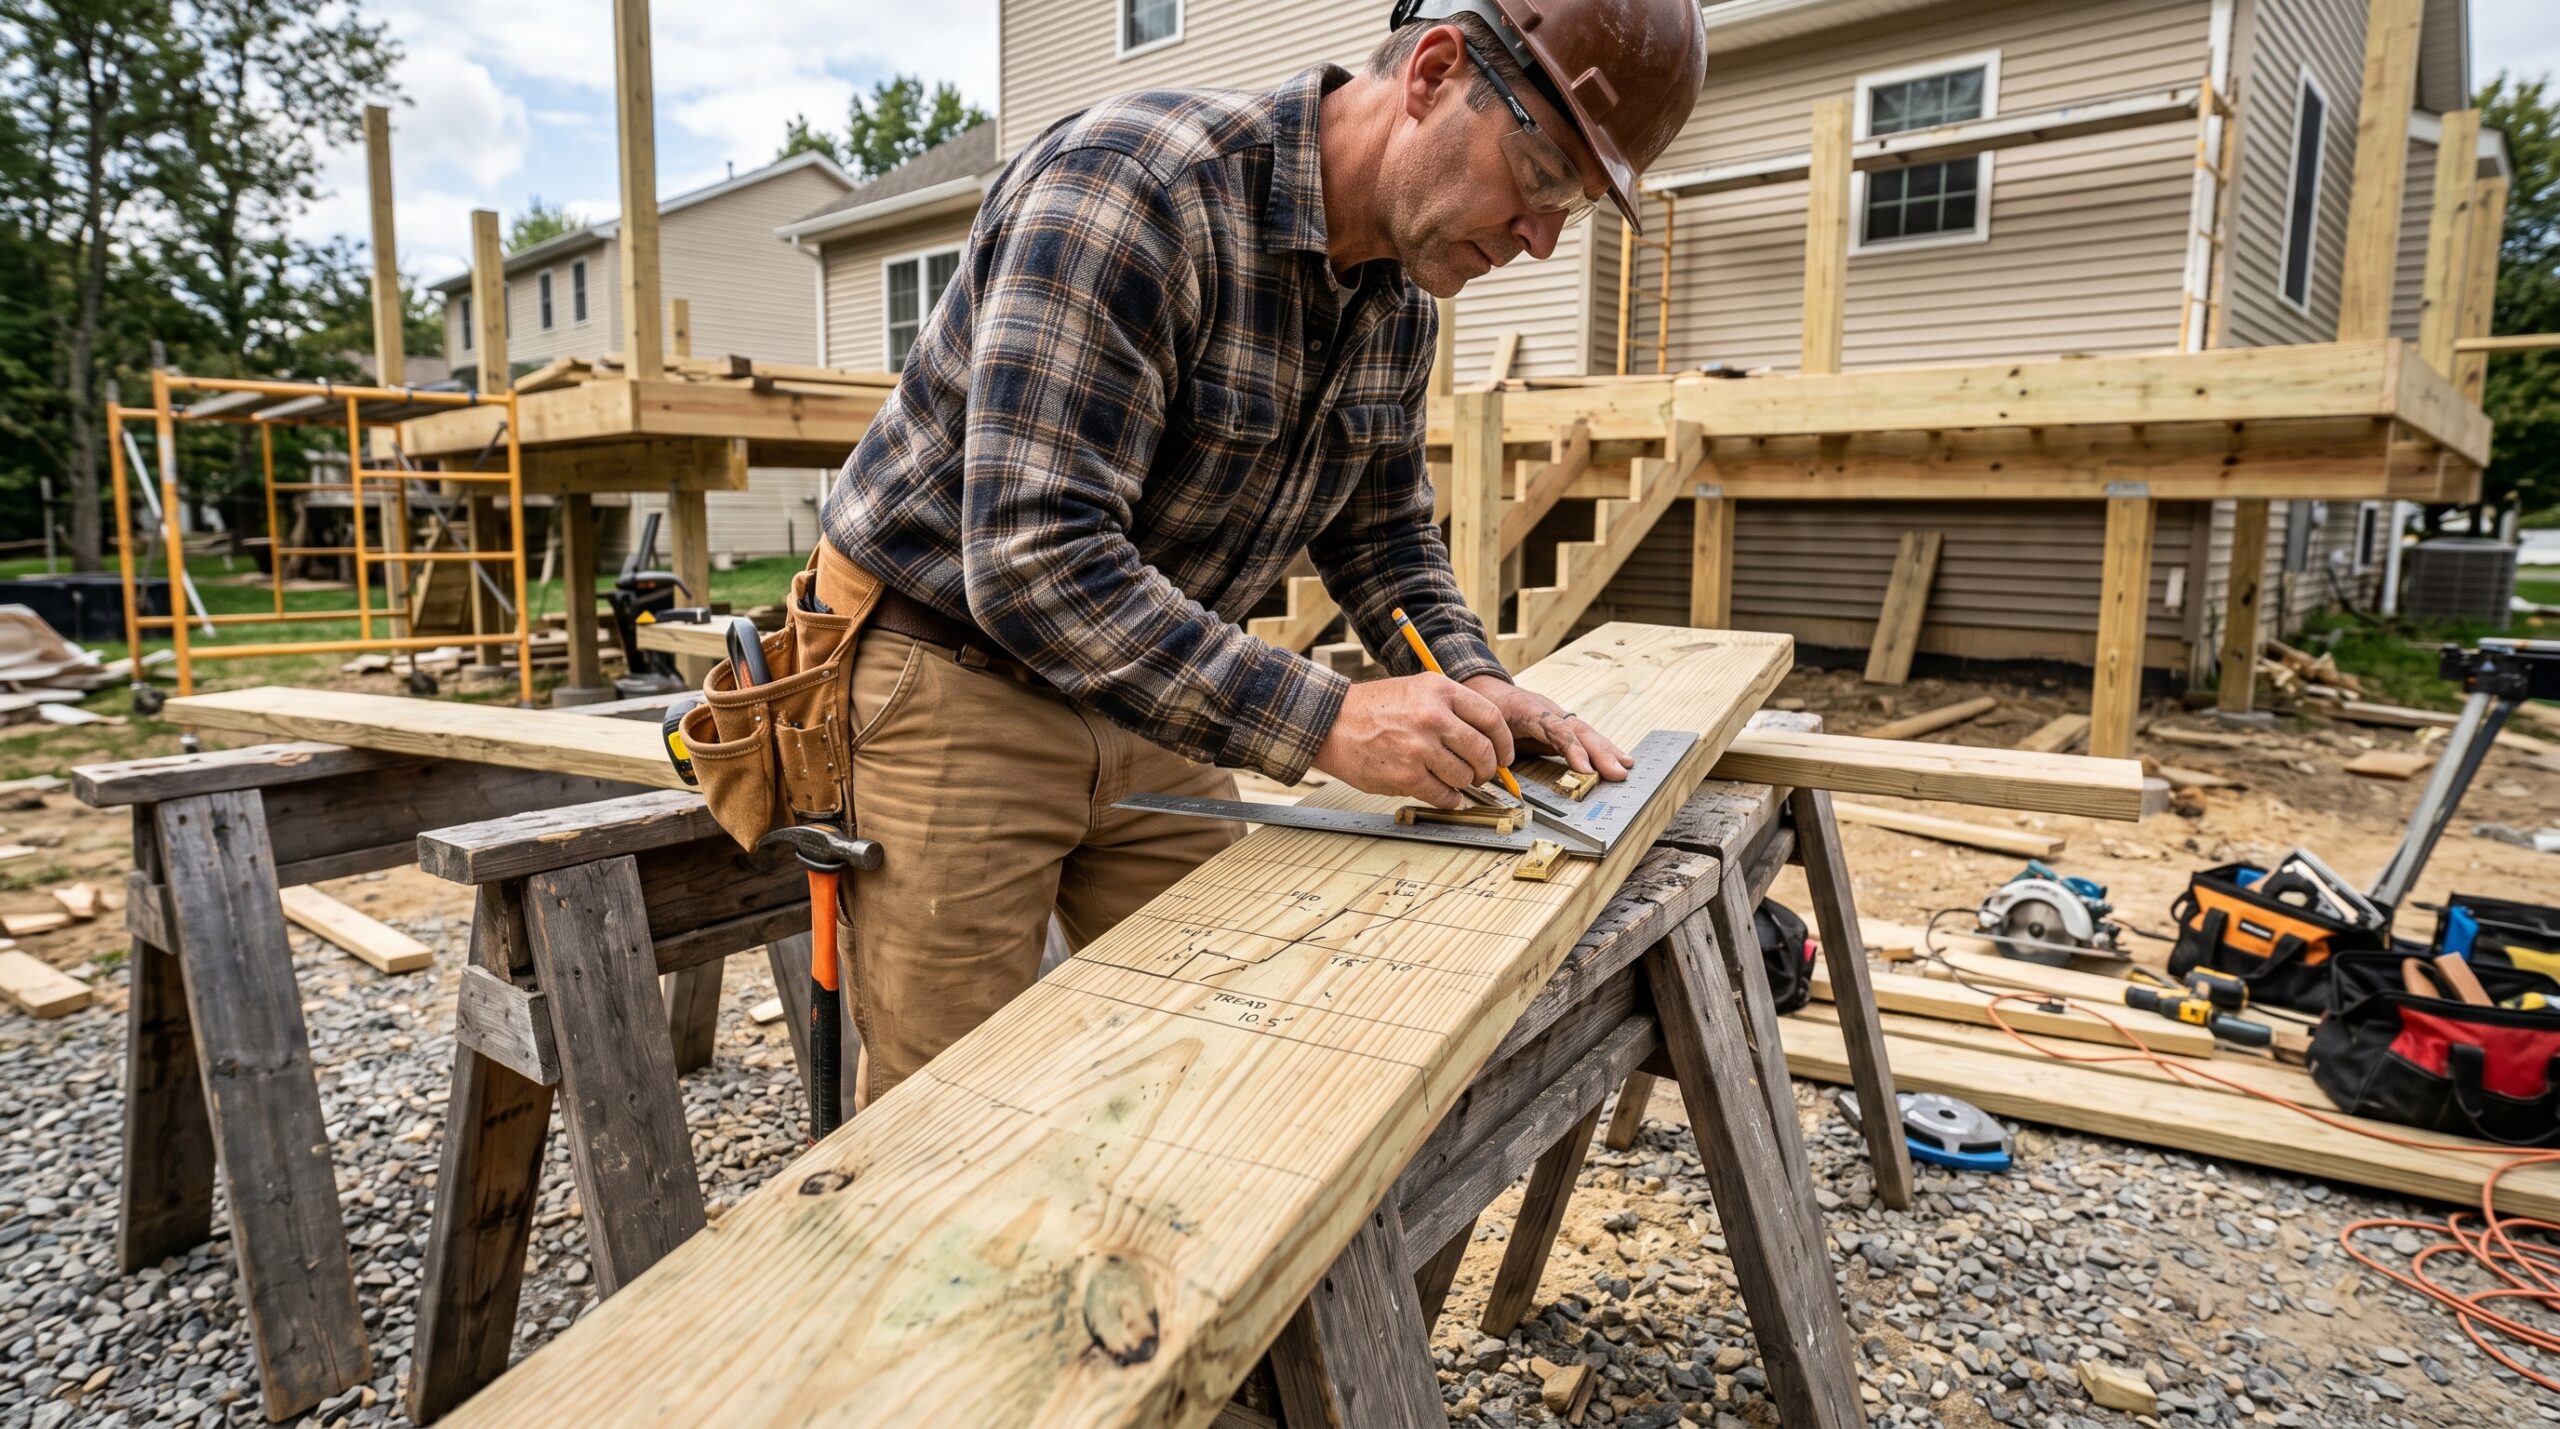
To prep the stringers, lay one of your 2x12s on sawhorses. Then, use a framing square and stair gauges to trace the outline of the stair based on info from your stairs calculator. Line up the riser height and tread depth on the framing square and align it to the stringer. This way, you can figure out the exact angle for cutting your stairs. Just keep repeating this process along the stringer.
Since the bottom step is gonna be the ground, your stringer will be too short by the height of one tread. After marking the stringers, drop it by cutting off the thickness of one tread to fit the ground. Attachments for the top step might need another tweak to keep a uniform design, though.
Here are easy tips before cutting your stair stringers:
To cut stair stringers easily, accurately, and safely, first, always wear safety glasses with power tools. Next, make sure the stair throat is at least 5 inches; that’s the depth from the inside edge of a cut stair to the back edge of your stair stringer. Finally, check the required spacing for your decking boards before you start cutting.
Laying the Stair Stringers
Follow these step-by-step instructions to determine the load requirements, calculate the rise and run measurements, and mark and prepare your stair stringers for installation.
Preparing to layout your stair stringers
Understand load requirements for stair treads
Stair treads take way more abuse when people walk downstairs compared to walking on a flat deck surface. Because of this, never space stair stringers farther than 16 inches apart. For stairways wider than 36 inches, at least four stringers should be installed. Check the max span your decking material allows for stair treads. The highest recommended stair rise is 7 feet 7.5 inches. Oh, and for a 48-inch composite deck, use at least six stringers for safety.
Consider specific material requirements
For some composite materials and lower-grade 5/4 wood decking, use 10″ spacing between stringers. Always follow the manufacturer’s stair tread instructions included with your composite decking. Overbuilding your stairs can handle extra wear and tear though.
Evaluate total rise for your stairs
Measure the space from your deck surface to the stair landing using a tape measure and a level. Input this into the Decks.com Stairs Calculator. It’ll give you the number of stairs needed and their rise and run, which helps when laying out the stair stringers.
Mark rise and run measurements on the framing square
First, use the Calcversa.com Deck Stairs Calculator for info. Next, use a framing square to mark rise and run on your stringer.
Adjust the top run measurement
If you’ll install a one-inch thick riser board, take an inch off the back of the top run. This ensures it lines up right when you put in the riser board.
Cutting the Stair Stringers
Even with strong wood, cutting stair stringers is pretty delicate work. After all the measuring and layout, you start cutting. Naturally, the first one is the toughest. Use it as a template for the rest. You need them all to build the staircase backbone.
Cut the Stringers
Use a circular saw to follow the measurement marks carefully. Don’t go past the guidelines; it’ll look off and make the stringer weak. If needed, finish up with a jigsaw or handsaw for clean cuts. After checking one stringer for accuracy, use it as a template to make the rest.
Cut the Top & Bottom Sections
Use a circular saw to cut out the top and bottom sections of the stair stringer and each step.
Complete the Stair Stringer Cut
Use a jigsaw or handsaw to complete the cut. Follow the layout lines and do not overcut.
Repeat the Cut
Use your first stair stringer as a template to trace your remaining stringers.
Learn More About Stair Stringers
When building a staircase to a new deck or replacing some old stairs, you need lots of info about stair stringers. These keep your deck stairs safe and stable. That’s likely why there are tons of articles out there covering this topic. So understanding stair stringers is key for any safe deck staircase setup.